Sunday, September 28, 2014

Midterm #5

Watching the video B11

Watching video B12

Watching video B13

Saving Midterm5a as jpeg like the video instructed

Saving Midterm5b as png like the video instructed
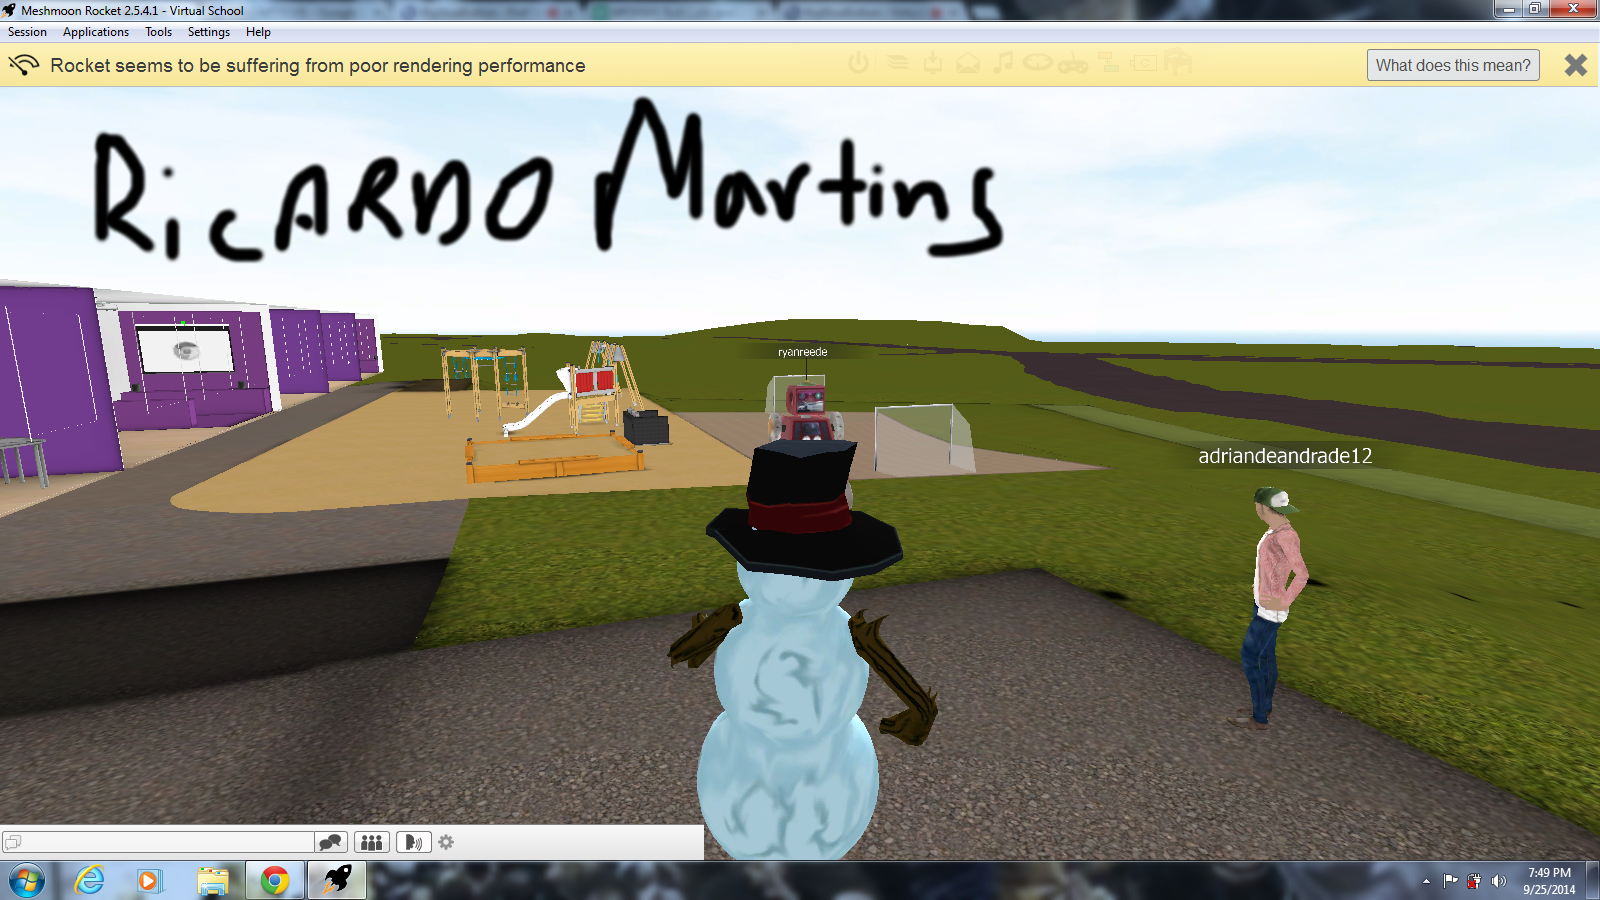
Midterm5a


Midterm5b


This is, a series of screenshots along with final pictures as to what the midterm five videos told us to do .  I started of by reading the midterm notes then I proceeded to watch the videos B11, B12 and B13 on our textbook.  Then I went back to B12 video and did exactly the same thing the video did.  I opened the monster jpeg file and wrote my name with the paint brush tool in gimp.  From there I exported the file with the progressive option checked off.  Then I went back watched the B13 video and exported the monster picture was a png file and with the option interlacing (adam7) checked off. I took several screenshots as you can see up above of the step by step process. It is a Midterm exercise from the Immersive Education that I am taking at Boston College.  The course is called Discovering Computer Graphics.  For details, visit the immersive BC portal at http://ImmersiveEducation.org/@/bc


Friday, September 26, 2014

Enhancing my 3D Virtual World with 2D Graphics Tool

I am on Gimp and writing my name on it and changing my shirt color and adding stripes to it.

Same thing as above as I finish the shirt area.


Here I changed my pants from black to almost a leopard or striped pants that almost looks like snakes skin. I did it by choosing the pattern fill option on the gimp tool bar.


Here I added a few things such as clouds under my name, chairs by the avatars, a wheel and a soccer ball .

Here is the final product image with 2D editing form gimp.

Thursday, September 25, 2014

Meshmoon Avatar

our team together before the avatar change


our team after the avatar change


Team together in another world with our avatar change.

Meshmoon Exploration

Our team in virtual world 1
our team on virtual world 2

our team on virtual world 3


our team on virtual world 4
Our team on virtual world 5


"Roll Call #1, Class #4"

Took a picture of the ladder and saved it.

Opened the ladder in gimp


Cropped out the surrounding requested on the lecture notes and here is what it looks like.


Monday, September 22, 2014

Class 3: Exploring the Virtual World FrameWork (vwf)

Reading the assignment
Screenshot 1

Screenshot 2

Screenshot 3

Screenshot 4

Screenshot 5

Screenshot 1 


Screenshot 2


Screenshot 3


Screenshot 4


Screenshot 5 

Screenshot 1


Screenshot 2


Screenshot 3


Screenshot 4


Screenshot 5


Meshmoon Web Rocket vs Virtual World Framework is alike in a couple ways.  They both allow you to be in a virtual world with people.  They both have some cool graphics.  They allow you to move anywhere you want in the virtual world.  You can do things that you would not imagne that you could do with an avatar.  Overall they are two pretty cool places to checkout and play around with and learn a thing or two.                                                                                                                                          
There are differences also when running this two.  In Web Rocket it was way easier to move around your avatar with the a,w,s,d keys and mouse.  In the virtual world it was harder to control your avatar, you actual needed to set way points in order to move the avatar, however when I got to the command center scene, i had a first person viewpoint which made it easier to move around the room freely.  The graphics in Web Rocket seemed much more vibrant and clear and real, as the Virtual World most of the graphics seemed fake.  The Web Rocket was much easier to load the different scenes as Virtual World took a while to load.  I feel Web Rocket is overall much easier to use and it actually helps you right before you start with a pop up box that guides you if you need it as for Virtual World they need to have something like that and they need to fix the graphics and make them look real and not fake, also the way the avatar moves is so difficult, they need to make it easier like Web Rocket.

Midterm 4


My avatar is the snowman, and here I am using gimp paint brush tool to write my name across the screen.  My friend took this screen shot for because I couldn't rotate camera to see the front of m avatar, I did the same for him.

Here is a screenshot of what it looks like.

Here is what the final image looks like with a zoom up of my snow man Avatar.

This is me creating and exporting my avatar with a greeting card.

This the final product with a greeting card, welcoming everyone to join the winter landscape world.

This is, a series of screenshots along with final pictures as to what the Avatar looks like.  I started of by choosing my avatar, which is a snowman.  Then I went into a virtual world called, "winter landscape".  While I was their, there was another student in there with me exploring the virtual world.  From there he took a screenshot of my avatar face, basically because I couldn't rotate the camera to take a picture of my avatar, I did the same for him.  Then I used gimp to write my name and then I exported it to get what the final image looks like.  The following step is I created a greeting card that welcomes everyone to come join me there and I threw in a little humor by saying maybe we could have a snowball fight also.  I created a greeting card by making a text box in order to write words.  As soon as i finished I took screenshot of me exporting it in gimp to a folder, to create the final image.  It is a Midterm exercise from the Immersive Education that I am taking at Boston College.  The course is called Discovering Computer Graphics.  For details, visit the immersive BC portal at http://ImmersiveEducation.org/@/bc


Class 3: Entering Meshmoon Virtual Worlds

Downloading and Installing the Meshmoon Rocket Client.


Entering the virtual world, I am on the moon looking out into space.  I wrote my name in blue to show that this is my work.

This is me walking towards the spaceship, again I wrote my name in Blue.


This is me on the platform of the spaceship, looking right at it and again I wrote my name to show that I did the work.


Saturday, September 20, 2014

Red-Eye image formats- assignment

This is a screenshot of me saving the image as a JPEG file.

This what the picture looks like as a JPEG file.

This a screenshot of me saving the image as a PNG file.

This what the picture looks like as a PNG file.

This a screen shot of me saving the image as a GIF file.


This what the picture looks like as a GIF file.

Up above is all the steps I took to complete this assignment.  In the assignment we were told to save the picture in different formats such as JPEG, PNG AND GIF.  We were asked about the differences of the pictures, and there were different indeed.  The JPEG file was the better one the picture was clear and vibrant, the PNG file was okay but not as vibrant and the GIF file was not great it was not vibrant at all and it was kind of blurry and had shadows on it.  JPEG was the best out of all.